Shop Now
-
Beads
- Acrylic Shapes
- Bead Boxes and Packs
- Bead Kits
- Clay Beads
- Cloisonne Beads
- Crystal Beads
- Faceted Beads
- Gemstone Beads
- Glass Beads
- Knitted Beads
- Large Hole Beads
- Lava Beads
- Letter Beads
- Metal Beads
- Pearl Beads
- Plastic Beads
- Play Jewels Craft Beads
- Polymer Clay
- Pony Beads
- Shell Beads
- Stone Beads
- Strung
- Style and Grace
- Wooden Beads
- Candle Craft
- Christmas
- Clearance
- Craft Kits
-
Easter
- Basket Filling
- Bonnets
- Clearance
- Critters
- Decorations
- Decorative Eggs
- Embellishments
- Feathers
- Fillable Containers
- Gift Tags
- Glitter
- Moulds and Stencils
- Novelty Hair Accessories
- Novelty Headbands
- Pom Poms and Chenille Sticks
- Resin Embellishments
- Ribbons
- Scatters
- Stickers
- Treat Bags
- Treat Baskets
- Treat Boxes
- Wood Beads and Charms
- Wood Craft
- Felt
- Floral Craft
-
General Craft
- Buttons
- Chenille Sticks
- Craft Foam
- Craft Folley Bells and True Bells
- Craft Glue and Adhesives
- Craft Magnets
- Craft Pom Poms
- Craft Seashells
- Craft Storage Boxes
- Critters
- Embellishments
- Fabric Markers
- Fake Gemstones and Jewels For Crafts
- Feathers
- Foil Flakes
- Glitter
- Haberdashery
- Joggle Eyes
- Magnifying Glasses
- Mosaic Craft Tiles
- Plastic Tubing Craft
- Play Foam
- Polystyrene Shapes For Crafting
- Rhinestones
- Sequins and Scatters
- Tassels
- Wooden Coat Hangers
- Hoops and Metal Rings
- Jewellery Making
- Lampshade Craft
- Macrame Supplies
- Packaging and Party
- Resin
- Ribbons
- Stationery
- Stickers and Papercraft
- Stringing and Trims
- Toymaking Supplies
- Velcro
- Wooden Craft
Candle Making Craft
There is something so comforting about burning a beautiful, calmly scented candle in the home. It’s even more enjoyable when you have made the candle yourself with your favourite fragrance.
We have the candle-making essentials that you will need and the steps for candle-making are very simple! You just need a container/tin/jar to hold your candle, wax, wick and any colours, fragrances or extras you would like to put in your candle.
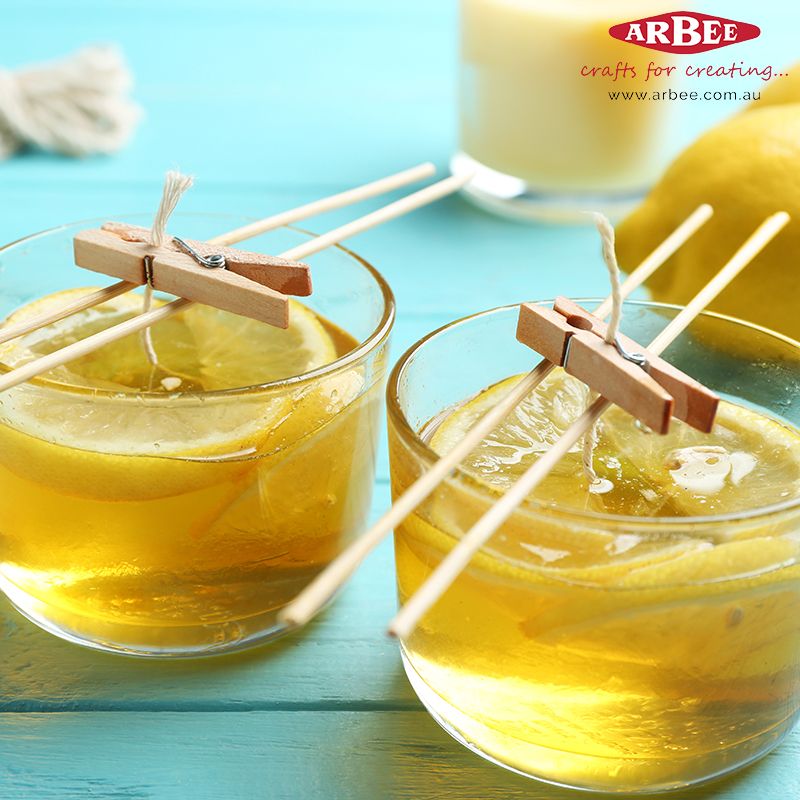
The first step is to put your wick into your container and hold it in place with wooden sticks or icy pole sticks and pegs, as pictured. Keep the wick quite long for now as you will trim it down at the end.
The next step is to melt the wax in a pot on the stove according to the directions on the wax you have chosen. When the wax has melted you can add in any colours, fragrances or extras.
Next, pour the melted wax into your chosen candle container and obviously, be careful as it is very hot.
Finally, let the wax totally cool down and trim the wick. So easy!
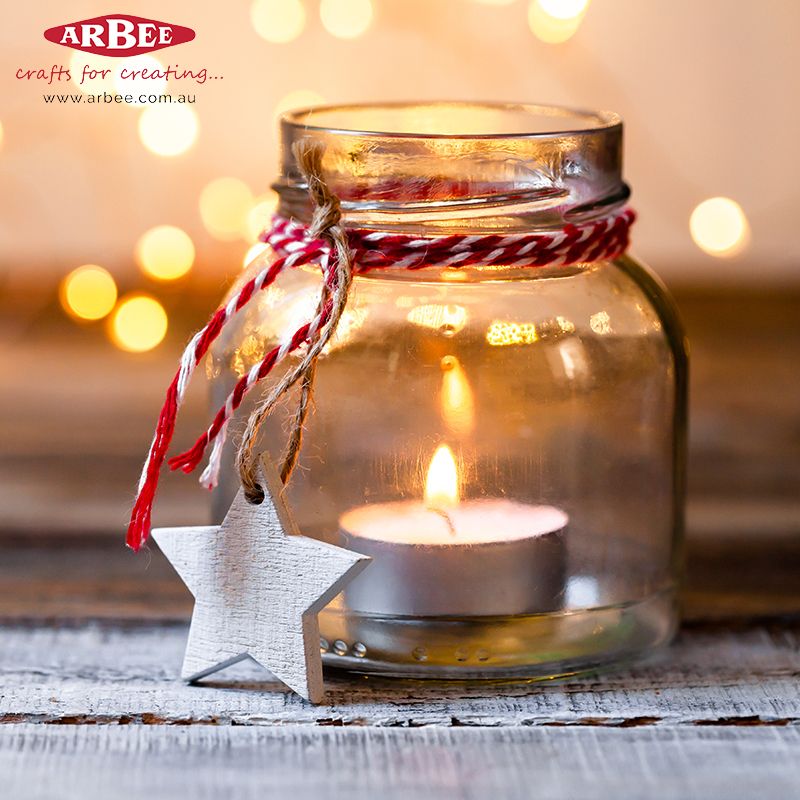
You can create some truly crafty candles if you let your imagination go. If you’ve made a great crafty candle, share a picture with us as we love to see our products brought to life.
Happy Crafting,
Arbee


